Projects — crafty
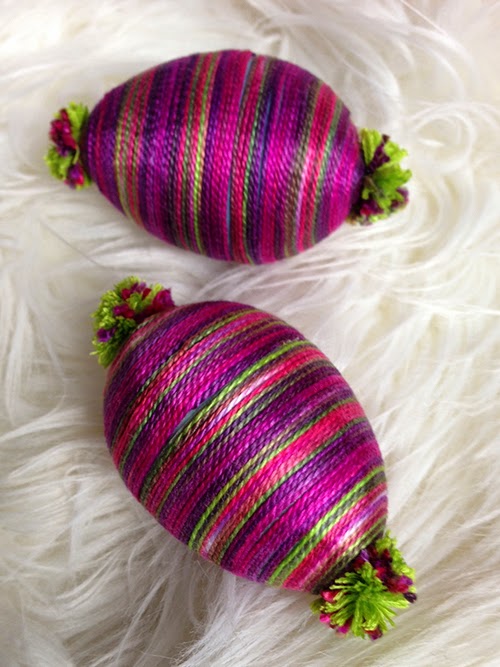
Pompom Easter Eggs!
Aleenes craft Crafts crafty decorate DIY easter crafts Easter eggs easy to make embellish embroidery floss Gifts handmade Holiday Home how-to ideas instructions make mini pompom PattieWack PattieWilkinson Pom-Pom Pom-Poms pompom pompommaker Projects step-by-step supplies tools yarn
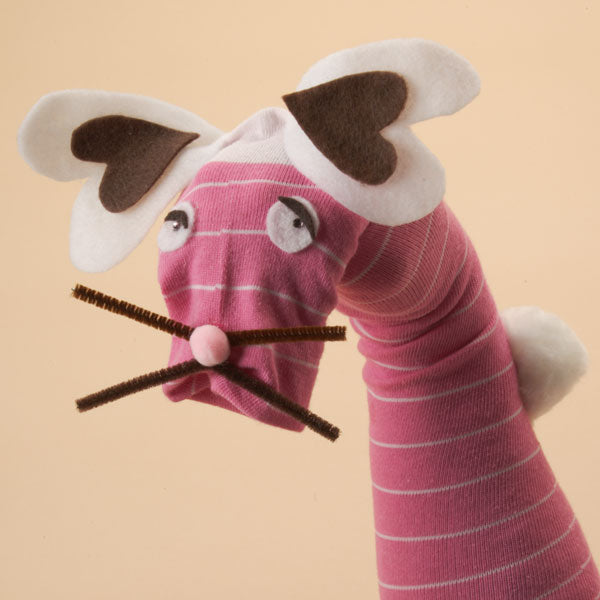
Easter Bunny Sock Puppets
Aleenes bunny crafts cheap crafts craft craft videos Crafts crafty decorate DIY easter crafts easy handmade how-to ideas instructions kids crafts make Make It maker mini pompom PattieWack PattieWilkinson Pattywack Pom-Pom Pom-Poms pompom pompommaker Projects RedHeart sock puppets step-by-step supplies yarn
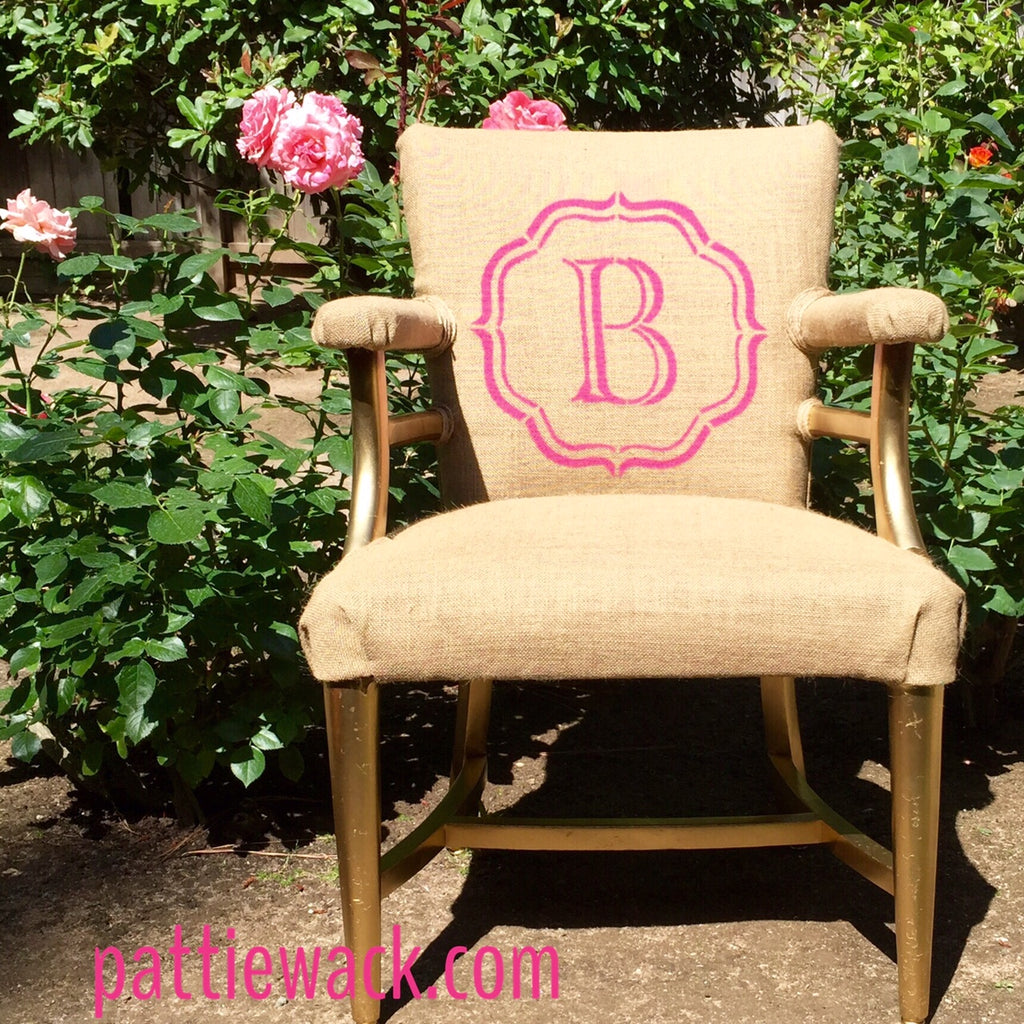
Monogram Burlap Chair - Reupholster Tutorial
Adhesive Aleenes art Bohemian Boho burlap burlap chair chair craft craft videos Crafts craftsy crafty decorate easy embellish farm girlie Glue handmade Home how-to ideas instructions make Make It makeit maker paint PattieWack PattieWilkinson Pattywack Projects shabbychic stencil step-by-step supplies Tacky textile tools tutorial upholstery
Weekend Bag & Tassel
batting cheap crafts cotton craft craft videos Crafts crafty DIY DIY videos easy easy crafts easy to make Fairfield how-to how-to make tassels how-to video how-to videos ideas instructions jewelry crafts Make It quilting tasselmaker Tassels thrift store tools yarn yarning

Are you ready for the weekend? Then you need this charming bag. I made the pouch by sewing thrift store blouses into a patchwork piece of fabric. Then I used Fairfield Purely Cotton™ 100% natural needlepunched cotton batting sandwiched inside the patchwork fabric and cotton fabric in a marsala color. I sewed a pouch with a flap, and added a necktie for a shoulder strap. Next, I made a marsala colored tassel and pinned to the flap of the bag. Here's how: Gather your materials. You'll need the Large PattieWack Tassel Maker. Wind yarn on tassel maker...
Rainy Day Card
Adhesive Aleene's Creative Living Aleenes cardmaking cheap crafts craft craft videos Crafts crafty DIY easy crafts easy to make how-to ideas instructions kids crafts Make It maker paper crafts PattieWack PattieWilkinson Pattywack scrapbook scrapbook paper

Here's a cute little card for the kids to make on a rainy day. They will have fun drawing the stick figure, and making a fan that turns into an umbrella! Gather your supplies of paper in raindrop colors. Cut and fold card in half. Cut paper for umbrella and fold into 1/2" pleats. Apply glue to one edge of the pleats. Fold in half and glue together to form the fan/umbrella. Glue umbrella into crease of card. Draw a stick figure hold an umbrella handle. Cut out. Apply glue to back of stick figure cut-out....
Quilled Wall Art
Adhesive Aleenes craft Crafts crafty decorate DIY handmade Home how-to ideas instructions make PattieWack PattieWilkinson Projects Quilled Wall Art step-by-step supplies Tacky
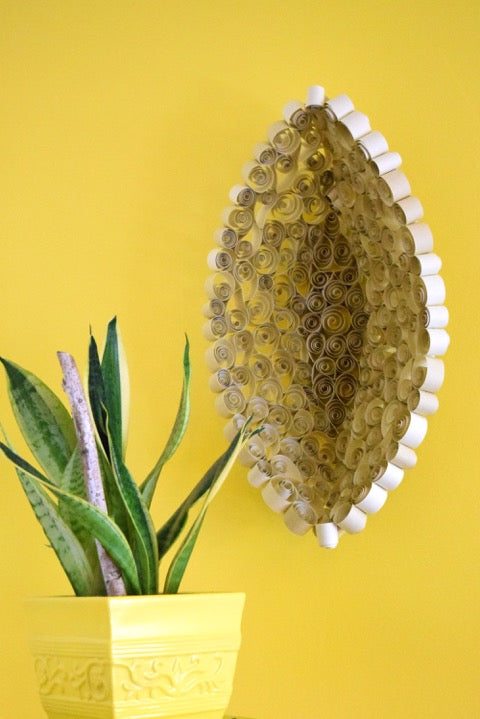
Quilled Wall Art This wall art made with simple quilling techniques will be beautiful displayed in your home. The paper strips are 1-inch wide, and create a very dramatic statement when formed around a bowl, glued together, and hung against a brightly colored wall. Step 1: Gather Supplies – Large Bowl 12” x 12” Scrapbook Paper Plastic Wrap White Craft Glue Step 2: Cut 1” strips from the scrapbook paper. Step 3: Cover bottom of the bowl with plastic wrap to protect when gluing. Step 4: Create coils, beginning in the center bottom of...